UAN KYC: Universal Account Number or UAN is provided to the employees who contribute to EPF(Employer’s Provident Fund). It is a 12-digit number and is generated for each Provident Fund by EPFO(Employer’s Provident Fund Organization).
KYC or Know Your Customer/Client guidelines understand what laws and regulations require of a person and keep criminals out of their businesses.
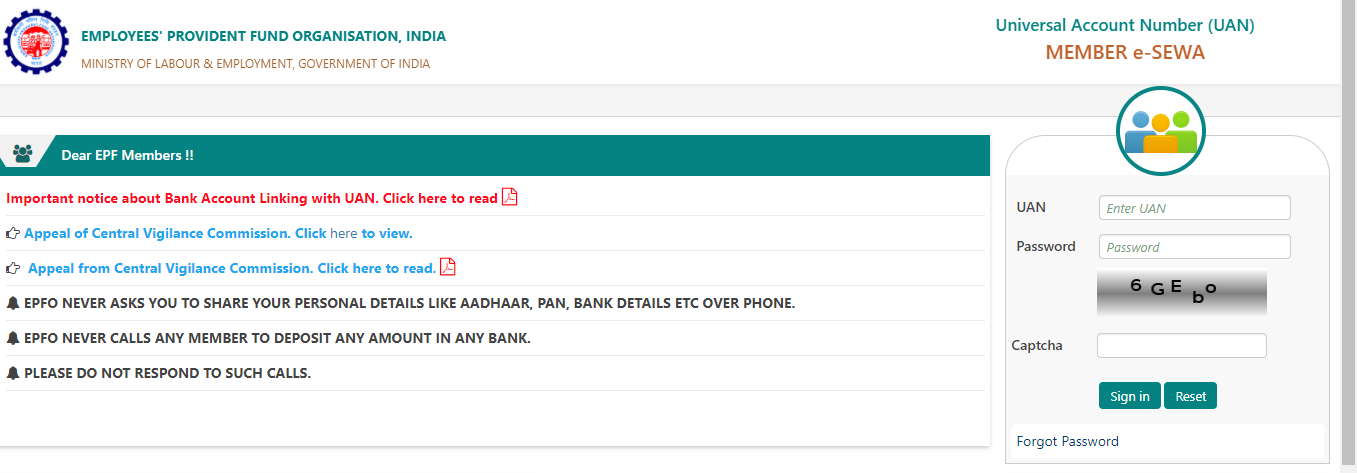
UAN KYC
A UAN number created by use of an Aadhaar card cannot add KYC like Bank account details and PAN unless you started working. The employer has to clarify and verify the KYC details. So, until you join the employer who provided you the EPF, you have to wait.
Steps to UAN KYC
- Log into the UAN website:- https://unifiedportal-mem.epfindia.gov.in/memberinterface/
- Click on Manage-> KYC to see or add details
Documents for Consideration for KYC
- Aadhaar card
- PAN card
- Bank account number
- Passport
- Ration card
- Election card
- Driving license
- National Population Register
Select the type of Document. You should have the following minimum documents KYC approved-
- Aadhaar card
- Bank details
- PAN card- when you do withdrawal before 5 years of EPF contribution, PAN is mandatory and TDS is deducted. TDS of 10% is levied against the amount when an employee withdraws his PF before 5 years of service if PAN is updated in the account. TDS charge increases to 34.608% when the PAN is not updated.
- Name as per the Document, details of the Document, and the Document number are to be added precisely.
- Details like the expiry date are to be added when you add your Passport or Driving License.
- IFSC code is to be added for the Bank.
- Save the Document by clicking on Save.
You will get errors if the Document details don’t match. If possible, correct the errors and try again.
The documents will appear in the pending KYC section when there will be no errors. The employer will approve the KYC details and you will have to wait till then. The KYC process can be canceled when you do not want your details to be updated. You have to click on the X sign against the Document to cancel the KYC process before the EPFO verification.

Employer Approval of UAN KYC
The employer has to approve the KYC process after the Documents uploading. To authorize the KYC, your e-signature/digital signature is required by the employer. The Document then appears in Digitally Approved KYC after the employer approves it.
Now, you can get your Aadhaar card linked by visiting the eKYC portal. Your PAN card and Bank account details should be verified and approved by the employer. Hence, you have to wait for your employer’s approval.
The process of How to link your Aadhar card with UAN is explained in the link below-
The Document then appears in Digitally Approved KYC after the employer’s approval.
Note: Make sure all the information provided on your Aadhar Card is correct since the same information will be used for UAN. If you find any discrepancy in Aadhar Card, then one can apply for the Aadhar Card Update at the official website of UIDAI.
How Employer Approves the KYC
Employers have a UAN website similar to employees who have a UAN portal, where they have to register their establishments. Using the registered Digital signature, the employer has to log in to the website to approve the KYC.
The link below represents the portal for employers and how it works
Few points on how to use UAN Unified portal for employers to approve KYC
- Generate UAN for fresher employees – Employers must send UAN and it is also necessary for employees to have UAN to receive EPF payments.
- Registration of new employees – The information of new joining of employees is extracted by the online registration form. No physical form for EPFO UAN registration is required to be sent by the employer.
- Link new member to existing UAN- As an employer, you have to link a new member to an existing UAN when an employee has been the EPF member initially. No chance of obstruction for EPF transfer is assured by this linking process. The same personal details should be used by the employer while linking to the UAN. Personal details which are saved in the UAN database should be used. Errors can be rectified by the employer or employee if they occur.
- Upload KYC of its members- As per the new EPFO norms, the employer has to upload Aadhaar card details, Bank account details, and PAN card details compulsorily. The portal can also be used for this process.
- Approval of EPF withdrawal- In some cases, an EPF member might require the approval of the employer for withdrawal of EPF. Using the UAN portal, the employer can approve or decline the EPF withdrawal directly and easily.
When Employer Does Not Approve KYC
When the employer does not approve KYC approach him or the Director directly.
All the EPF matters of a company are usually taken care of by HR. You can approach HR when the approval of KYC is urgent and has to be done within 15 days. You can approach and contact a Senior member such as a Director of the company if the KYC still doesn’t get approval.
Complaint to EPF Department: EPF Grievance
When the employee’s KYC isn’t getting approved, then the employee can complain to the EPF authority. UAN is required by an employee to complain.
The complaint website regarding KYC is given below:- http://epfigms.gov.in/.
Steps on How To Register EPF Complaints
The’*’ fields are compulsory to fill
Enter EPF Details column
- You have to select Status among PF members, EPs pensioner, Employers, etc.
- Select Others when the PF number is unknown.
- You have to enter your 12-digit UAN number.
- Now, enter the security code presented on the screen.
- Click on the option, Get Details, and the UAN number mobile number, and email ID will appear.
Enter Personal Details column
- Choose the PF Number.
Enter Grievance Details Column
- You have to select the grievance category for the easier process under which the complaint falls.
- You have to enter the grievance description which has a maximum limit of 5000 characters.
- To clarify the complaint, you have to upload the Supporting document in a PDF format whose size should not exceed 1MB. To upload, you have to click on Browse first and then you have to click on Attach.
- Now, enter the Captcha correctly and click on the Submit button.
A unique registration number is provided with the complaint after the complaint is filed. The details of the complaint are also emailed to the registered email ID. A tracking feature is also added on the website to track the EPF complaints online. The registration number can be used to track the status of the complaint filed by an employee.
The complaints are verified by the EPFO and later, it is forwarded to the pertinent party for deliberation. It takes around 15-30 days for the complaints to get resolved.
The registration number can be used to send a reminder if needed.