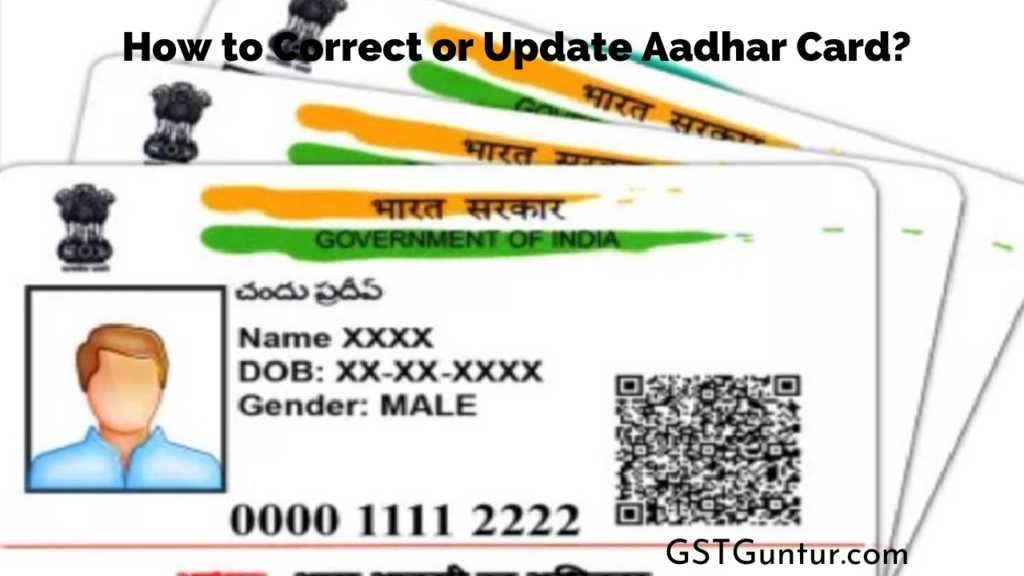
How to Correct or Update Aadhar Card?: UIDAI has made it more manageable for people to get their Aadhar card updated both offline and online. Aadhar card correction or update processes through which people can easily get their e-Aadhaar card details updated and corrected are mentioned below.
An Aadhaar Card consists of a 12-digit unique identification number that is granted an essential document for proof of address and proof of identity. An Aadhaar Card is also needed for availing various government benefits and subsidies. However, it is of absolute importance that your Aadhaar Card is updated to avoid any impediment. By visiting the Aadhaar Enrolment/Update Centre, any individual updates the Aadhar card name, date of birth, address, mobile number, and email id on the Aadhaar card online and offline.
Details That Can Be Changed in the Aadhar Card Online
As per the newest developments, one can only get their address changed in their Aadhaar card Using the online portal of SSUP. In case a person want to update the following details; they have to visit an Aadhaar Enrolment Centre:
- Name of the applicant
- Gender
- Address
- Date of Birth
- Mobile number
- Email ID
In order to register the mobile number of a resident with UIDAI, visit a nearby Aadhaar Enrolment Centre and submit your mobile number in the Aadhaar Enrolment/Correction Form. One does not have to provide any proof for registering their mobile number with Aadhaar.
Steps to Update Aadhaar Card by Visiting Enrolment Centre
Any individual can get details of their Aadhar updated by simply visiting the Aadhaar Seva Kendra.
Make sure that entered information is correct and not the one that is pre-specified in your Aadhaar.
The applicant needs to get self-attested photocopies of proofs validating their update request.
Submit the filled form along with documents for verification.
You need to pay Rs—25 as a charge for every such visit to the Enrolment Centre for updates or corrections.
An individual can get their biometric data, all including their details, image, mobile number, etc., updated at the centre for enrolment.
Aadhaar Card mobile number update or change can also be done at the enrolment centre.
Moreover, you can also visit several banks to update your Aadhaar card. For example, one can make changes to your Aadhaar Card by visiting the nearest Axis bank branch and opting for their Axis Bank Aadhaar.
Note: Whether a person updates one field or many, charges for the Aadhaar Update will be Rs. 50 (if only demographics details of the applicant are being updated) and Rs. 100 (if the person is also updating biometrics).
Fill Aadhaar Card Enrolment Form, Content, Steps To Fill and How To Track?
Steps to Update Aadhaar Details through Post
Residentss can correct or update their Aadhaar Data by sending the request form by Post. One can download the Aadhaar Data Correction/Update Form For Request Through Post.
Fill in the complete Aadhaar Data Correction/Update Form and then sign off.
Depending on the field to be updated, as per the Valid Documents List, attach self-signed supporting documents. On all your document copies, do mention your Aadhaar Number.
Review the data entered for completeness and correctness in English as well as the local language.
Seal the envelope correctly; Mark the envelope as “Aadhaar Update/Correction” on top.
Along with the supporting documents, send the form to one of the addresses given below.
You will receive a suggestion of an update request receipt.
Steps to Update Aadhar Card Details Online
Usually, a person can modify the address, name, date of birth, gender, email id and mobile number on the Aadhar card. In order to change the details of an individual Aadhaar card online, follow these steps to change/correct/update.
- Step 1. Open and visit the Aadhaar Self Service Update Portal and click on “Update your Address Online.”
- Step 2. The person then needs to click on the “Proceed to Update Address” option only when the individual has valid address proof.
- Step 3. In the new window, you are required to enter your 12-digit Aadhaar number and click on “Enter a TOTP” or “Send OTP.”
- Step 4. A One Time Password (OTP) will be sent to the applicant’s registered mobile number in the database of UIDAI.
- Step 5. Enter this OTP to log in to your Aadhaar account. Alternately, to authenticate, you can use the TOTP feature.
- Step 6. One then required to select either the “Update Address vis Secret Code” option or the other option of “Update Address by Address Proof”.
- Step 7. One can now enter the residential address mentioned in the Proof of Address (PoA) and click on the “Preview” button.
- Step 8. In case you want to alter your address, click the “Modify” option else, next tick the declaration and then click on the “Submit” button.
- Step 9. One then needs to select the document type they want to submit as PoA for verification and upload the scanned copy of the address proof and then click on the “Submit” button.
- Step 10. The request for the individual Aadhar update will be accepted, and a new 14-digit URN will be generated
One can use the Update Request Number (URN) to check the status of the Aadhaar address update. Once updated, the person can download the updated version and get your Aadhar card print out.
Vital Things To Be Kept In Mind While Updating Aadhar Card Details
The changes that a person enters must be appropriate, and the correct documents that an individual is attaching with the form must be self-attested and approved.
The individual details are required to be filled in the local language or in English.
While correcting the details in the Aadhar card, it must be assured that the URN is kept safe as it helps to track the status of the Aadhar Card.
In case the resident’s mobile number is not registered, then they must visit the most adjacent Aadhaar Enrolment to make corrections to their Aadhaar card.
The resident must ensure that all the details entered are filled in capital letters in the correction form.
All the necessary information must be filled in, and no option should be kept neglected.
Only those documents that are needed as proof should be sent adjacent to the form.
The Aadhar card, which has been corrected, will be sent to the designated address in the Aadhaar card.
The photocopy of the documents must be self-attested by the resident before sending.
Why does the Request for Aadhar Card Correction/Updation Get Rejected?
The request for Aadhaar Card correction/updation gets rejected sometimes, as the UIDAI follows specific provisions to check the details before executing any changes in the Aadhar details. Only when these guidelines are fulfilled, the details on UIDAI’s system get updated. The following requirements should be fulfilled before corrections are made in the Aadhaar details:
- Junk Data in the request: When the inputted data in the request field is junk or illogical data such as “Aaajjjjj”, “kmlkjf”, AA etc. If no meaningful data is mentioned in the request field.
- Invalid Documents: When the request is unable to be supported with a valid POI/PoA as guided in the policy.
- Document Not Legible: When photo and document are not clear (or readable).
- Document Not-Self Attested: When the document is not self-attested by the resident.
- Data Mismatch in Document and Update Request: When there is a mismatch in the document uploaded/sent and in entered data in the request by Resident.
- Transliteration Error in the Request Field: When local language transliteration does not match or found to be incorrect with the data in the uploaded document. The process of translating a word to its phonetic (similar sound) equivalent in another language is known as Transliteration.
In Aadhaar enrollment, all demographic details of the resident are transliterated to the state’s local language where the enrollment happened.
Transliteration Error in the Request Field means that the information provided by the resident at the time of submission in English did not translate to your local language rightly.
Try updating afresh and make sure whatever details are written on the left side in English is getting correctly translated in your local language. Go on the right-hand side to the local language field and retype in English.
You may tweak some of the spelling a little to get the right phonetics and local language correct spelling. Press the tab key if more than one option in the local language appears on the local language field for the word, judge and select the one that is correct. The instructions for transliteration are provided on the same page where data entry is done.
If the mentioned process still does not work, send the updated Request through Post.
- Photo Mismatch on Aadhaar and POI: When there is a mismatch between the resident’s photo in the Aadhaar database and on the POI document.
- Mismatch of Age on a document with photo on Aadhaar: When there is a visible mismatch of age between the age-cited photo in the Aadhaar database and in the request field.
- Update declined: If the resident has declined an update request, on telephonic verification.
- Verification Call Failed: When the resident is unable to answer all the questions convincingly.
- Resident Not Reachable: When the resident is unreachable on the contact number in the registered Aadhar Database after three attempts on three separate days.